Making whipped cream at home is easier than you think! This simple recipe allows you to control the sweetness level so you can customize it exactly to your taste. Whether you like it light or decadent, homemade whipped cream is a quick, versatile addition to your favorite desserts.
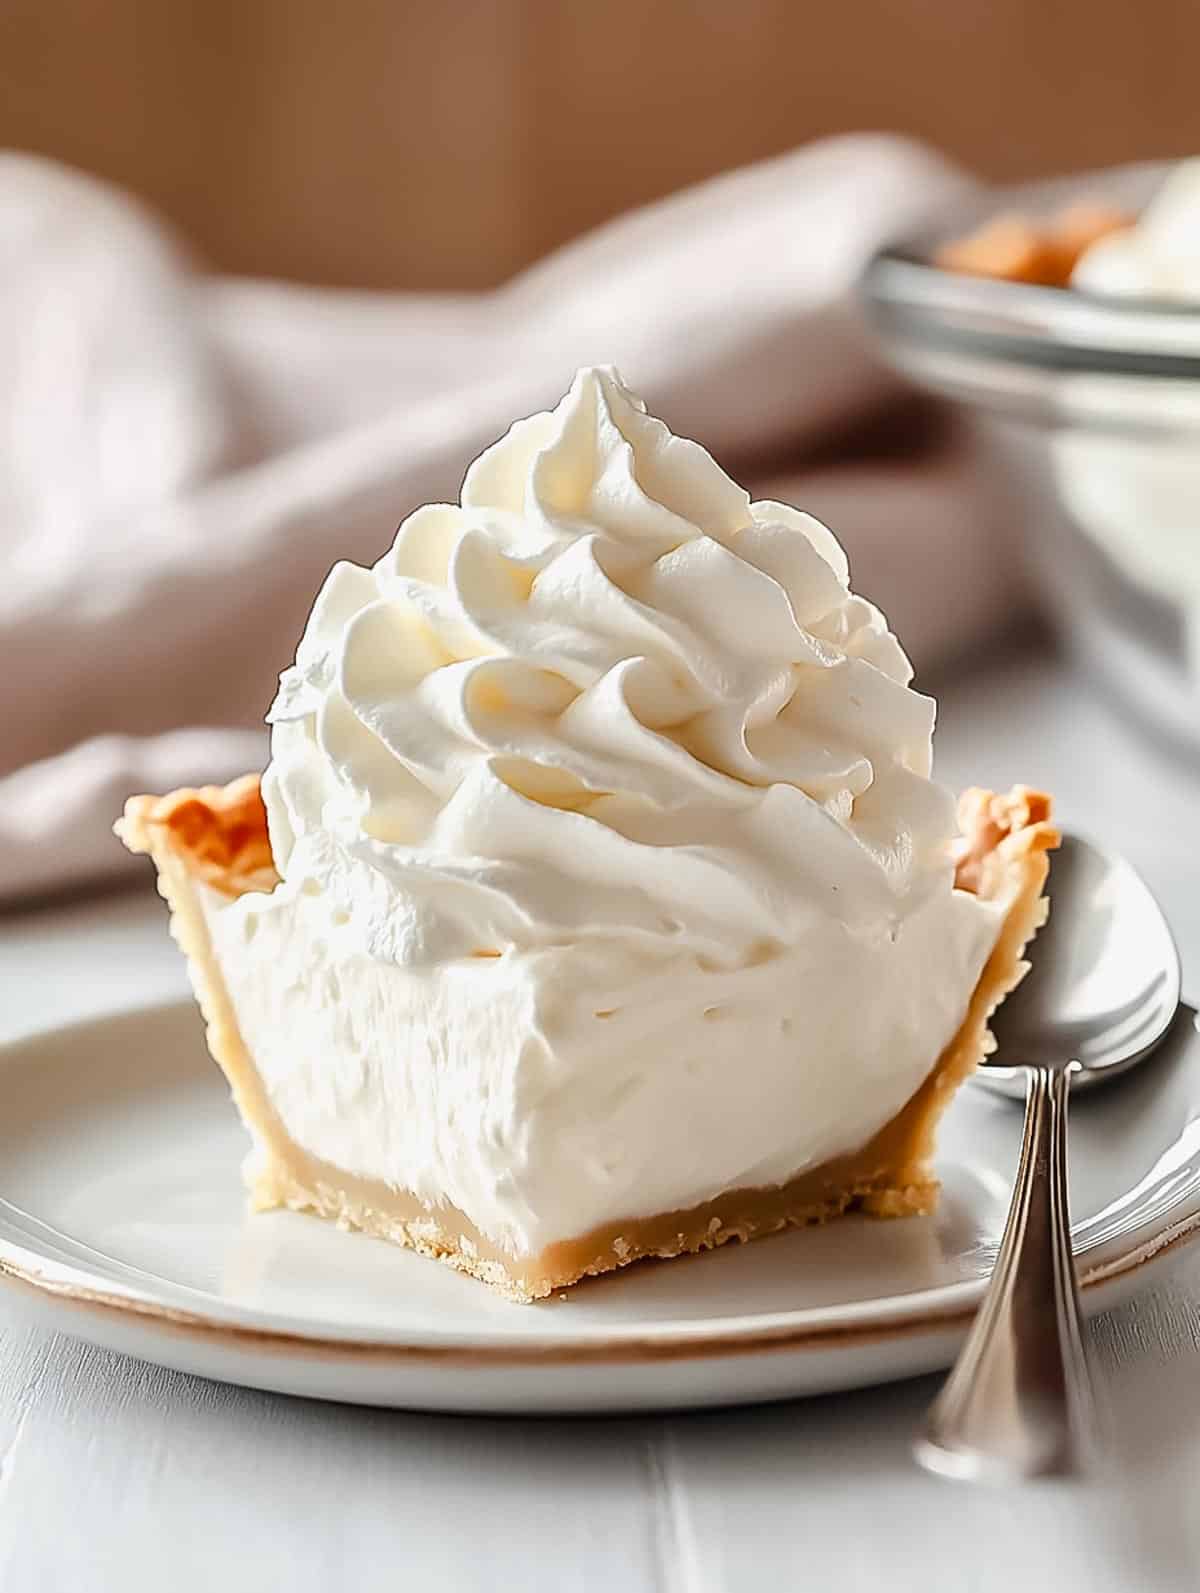
Fresh homemade whipped cream is a versatile treat that pairs perfectly with a variety of desserts, drinks, and even breakfast. Whether you're topping a pie or adding a dollop to hot chocolate. The ability to control the sweetness or add a pop of flavor makes it even more delicious.
Try my Lemon Blueberry Tart with Lemon Whipped Cream for a zesty twist. Or, add a spoonful to the classic Fresh Ripe Strawberry Shortcake. In the summer, it's a match made in heaven with Grilled Peaches with Basil Honey Whipped Cream. And when the holidays roll around, nothing beats a cozy Spiced Christmas Hot Chocolate with Peppermint Whipped Cream. For breakfast lovers, don't forget to add some to my Brown Sugar Protein Pancakes for an extra indulgent touch!
As a professional chef, I love sharing my knowledge with home cooks. My whipped cream recipe is all about versatility, from adjusting sweetness to pairing it with a variety of seasonal dishes. Whether you're a beginner or a seasoned cook, you can trust this recipe to elevate your favorite desserts.
Jump to:
Ingredients for Homemade Whipped Cream
The beauty of homemade whipped cream is in its simplicity. You only need a few basic ingredients, and each one plays an important role. Let's talk a little more about each of these; simple recipes often rely heavily on the quality of the ingredients.
Understanding Sugar
Sugar is a crucial ingredient in whipped cream, as it adds sweetness and helps balance the rich fat content. However, not all sugars are created equal. Choosing the right type can make a big difference in your final product. Powdered sugar, also known as confectioners' sugar, is made by finely grinding granulated sugar. It also has a small amount of cornstarch to prevent clumping. This ultra-fine texture allows it to dissolve quickly into cold liquids like cream. It ensures a velvety texture with no grittiness, and the added cornstarch provides extra stability. This helps the whipped cream hold its shape for longer periods.
In contrast, granulated sugar is much coarser. While it's the go-to for most baking and sweetening applications, it doesn't dissolve as easily in cold liquids like cream. Using granulated sugar in a whipped cream can leave behind tiny, undissolved crystals, resulting in a grainy texture. It's best to reserve granulated sugar for recipes where it can dissolve fully.
Other sugars like brown sugar and turbinado sugar are less commonly used in whipped cream. Their molasses content imparts a deeper, more caramelized flavor and color. However, in some specialized recipes, a touch of brown sugar can add a unique, complex flavor to the whipped cream.
Understanding Cream and Fat Content
Cream is the rich, high-fat layer that rises to the top of milk before it's homogenized (the process of mixing until the liquid becomes uniform). In modern dairy production, cream is separated from milk using centrifuges and is categorized based on its fat content. There are several types of cream: half-and-half (10%-18% fat), light cream-often labeled as coffee creamer or table cream-(18%-30%), whipping cream (30%-36%), and heavy cream (36%-40%).
When you whip cream, the fat molecules trap air, forming a light, fluffy foam. The higher the fat content, the more stable and fluffy the whipped cream will be. Professional kitchens often use 40% heavy cream. It holds its shape longer and is more resistant to over-whipping. Which helps prevent turning it into butter during the whipping process.
Cream's fat content also affects its versatility in other recipes. Besides whipping, heavy cream is excellent for thickening soups, enriching sauces, and creating creamy desserts like ice cream or custards. The fat in cream contributes to the overall texture and mouthfeel, enhancing the richness of any dish. Understanding the fat content of different creams helps you know why certain creams work better for some recipes.
Exploring Vanilla Extract
Vanilla extract is one of the most common flavorings used in whipped cream. It adds depth and warmth to the light, airy texture of the cream. The extract is made by soaking vanilla beans in alcohol, usually vodka. This allows the flavor compounds from the beans to infuse into the liquid. The primary component responsible for vanilla's characteristic flavor is vanillin. True vanilla extract also contains hundreds of subtle flavor compounds that give it depth and complexity.
Pure Vanilla Extract
There are several types of vanilla extract available, each with its own flavor profile and uses. Pure vanilla extract is made from real vanilla beans, typically from Madagascar, Mexico, or Tahiti, and contains no artificial additives. It's the most common type of vanilla extract used in home baking and cooking, prized for its authentic flavor. The strength of pure vanilla can vary based on the origin of the beans. For instance, Madagascar vanilla is known for its rich, creamy flavor, while Tahitian vanilla has more floral notes.
Vanilla Bean Paste
Another option is vanilla bean paste, which is a thick syrup made from vanilla beans and extract. This paste contains the actual seeds of the vanilla bean, giving it a more intense flavor and visual appeal. Think of those iconic vanilla specks in your whipped cream. It's my personal favorite, it gives a stronger vanilla presence and a luxurious look.
Imitation Vanilla Extract
Imitation vanilla extract is made from synthetic vanillin. It's more budget-friendly, but it lacks the complexity of pure vanilla extract. It's best to use imitation vanilla in recipes where vanilla isn't the star flavor. However, for something as simple as whipped cream, every ingredient shines. It's best to stick with pure vanilla extract or paste for the most authentic flavor.
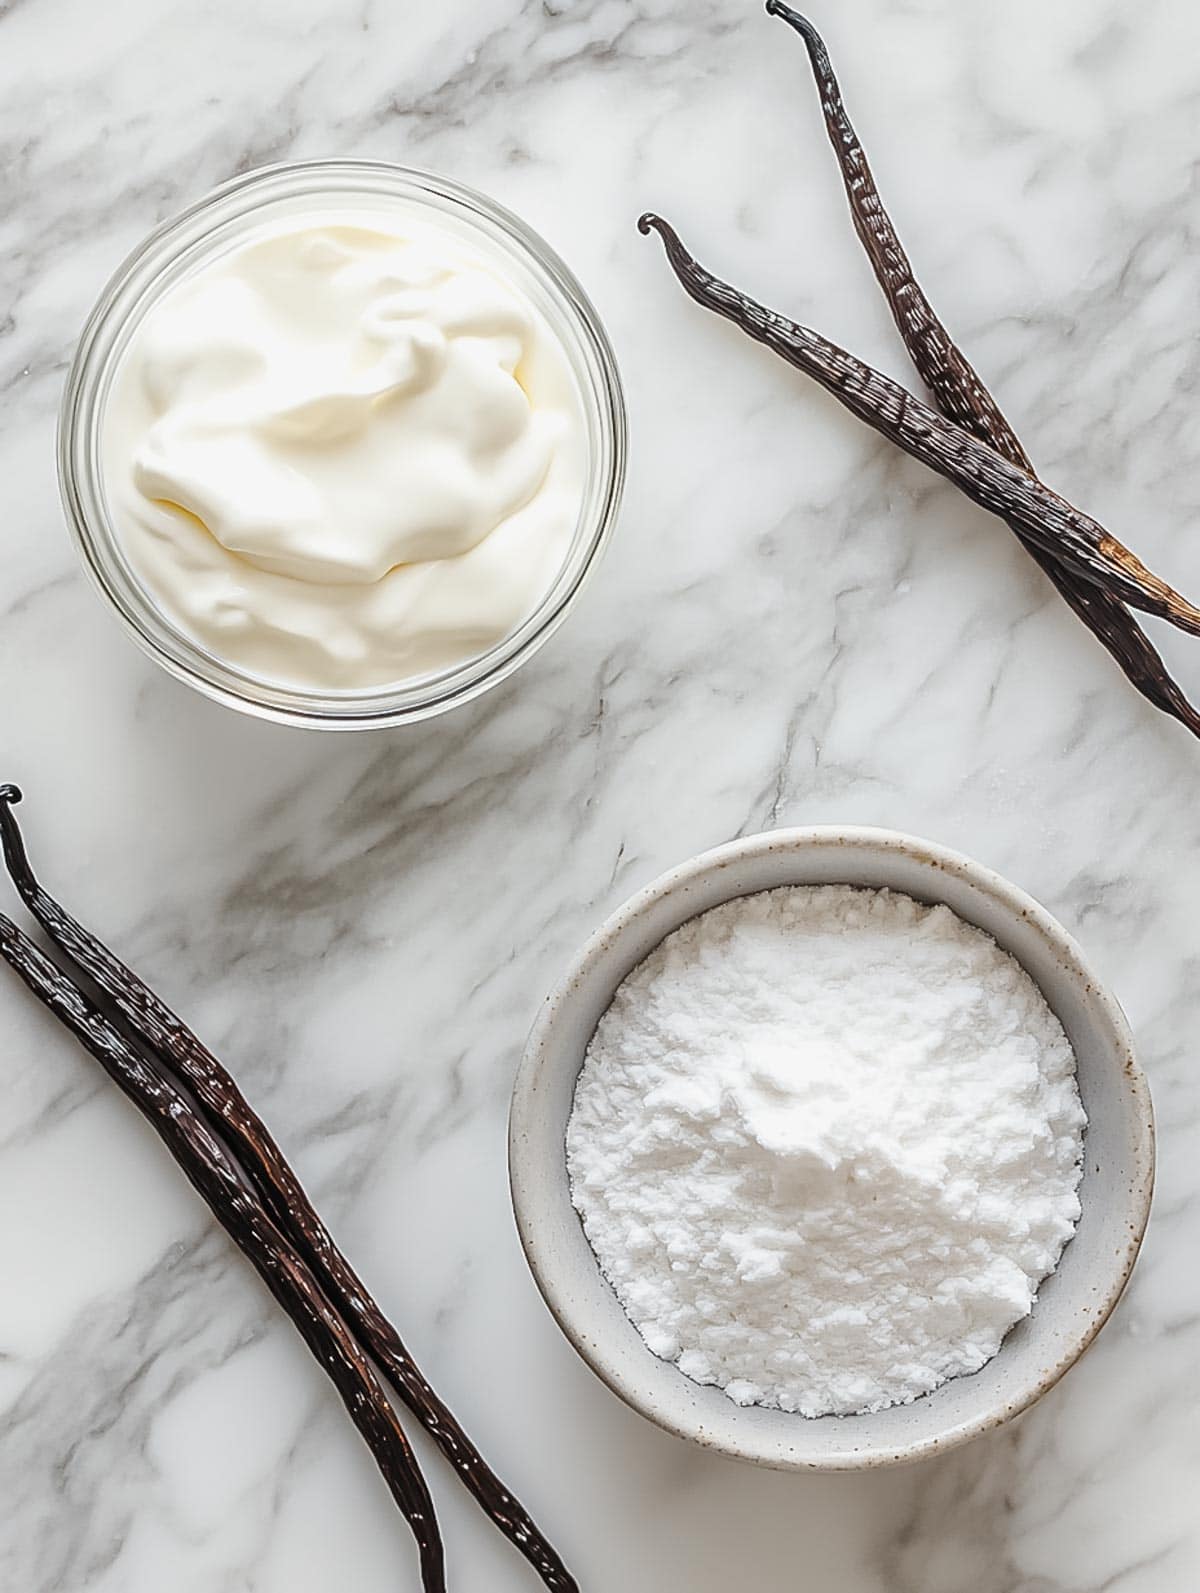
- heavy cream (40% fat preferred)
- powdered sugar
- vanilla bean paste (I use this one)
See recipe card for quantities.
Instructions
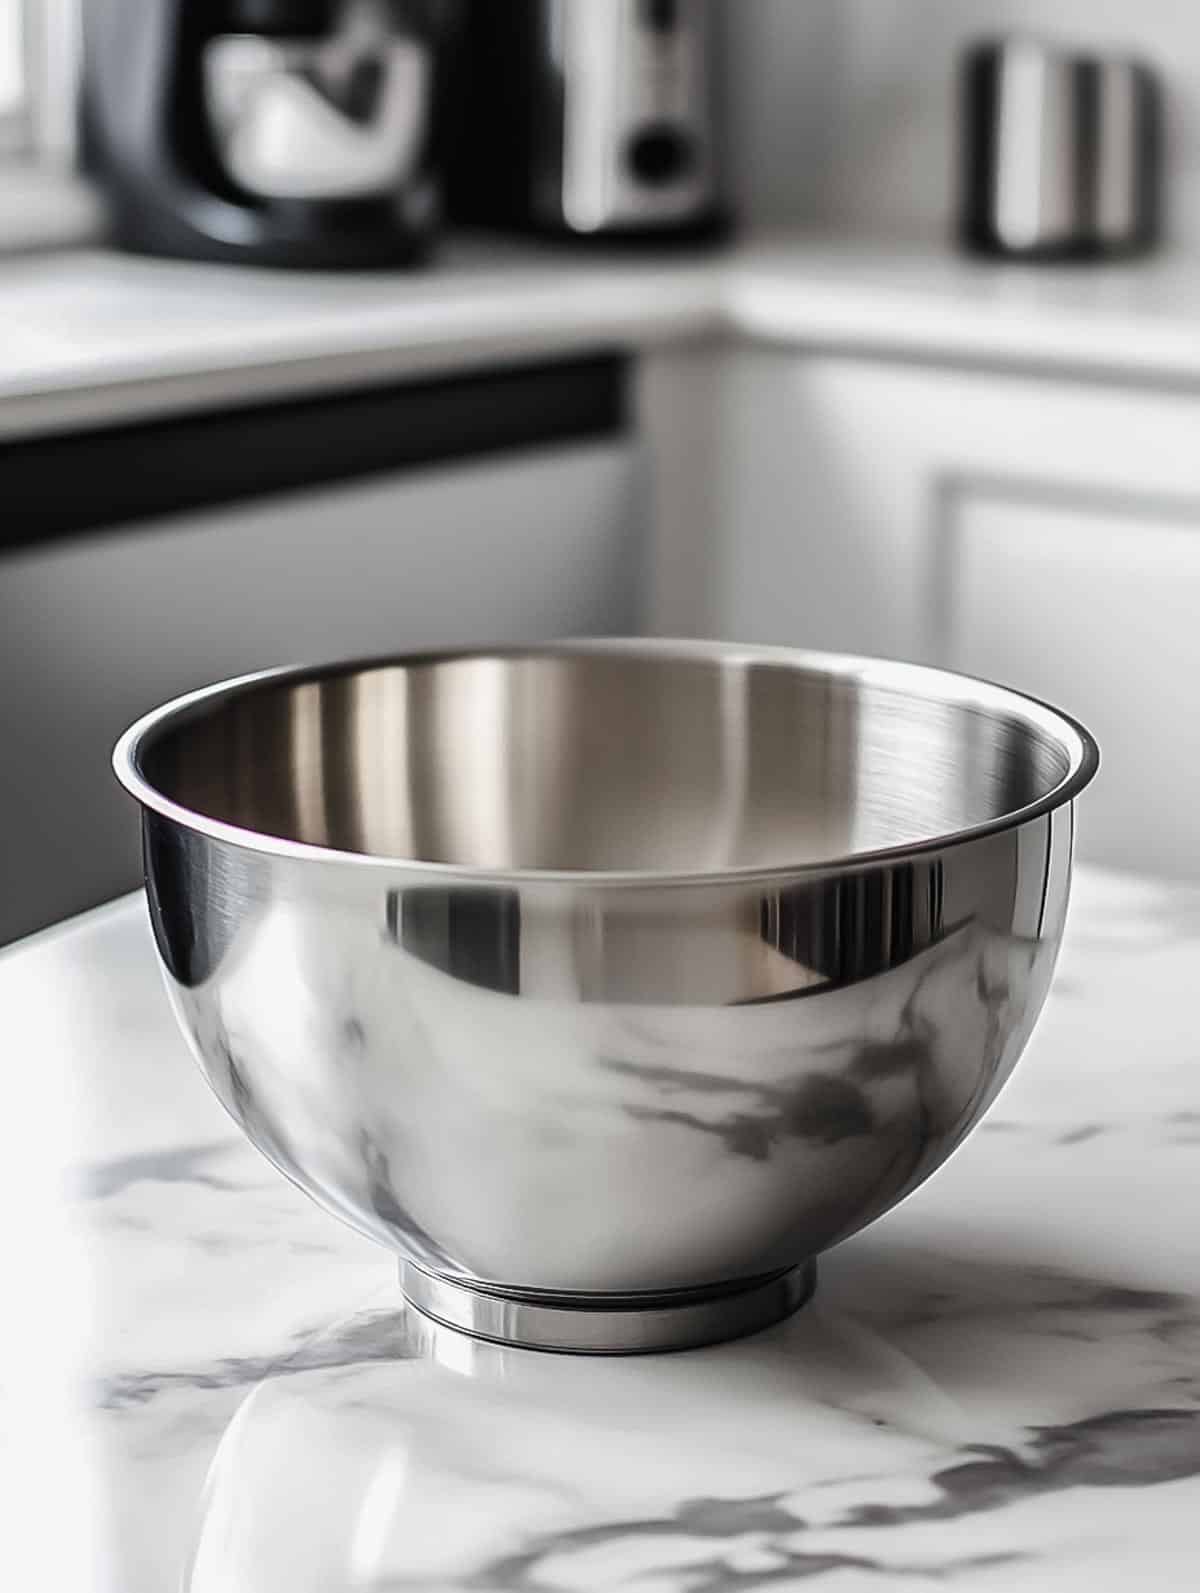
- Chill the Equipment: Place your mixing bowl and whisk attachment in the freezer for 10 minutes before you begin. Cold equipment helps the cream whip more easily and maintain its structure.
- Prepare the Ingredients: Pour 1 cup of cold heavy cream (preferably 40% fat) into the mixing bowl. Add 1-3 tablespoons of powdered sugar, depending on your sweetness preference. Add 1 teaspoon of vanilla bean paste for a richer taste and those beautiful vanilla flecks.
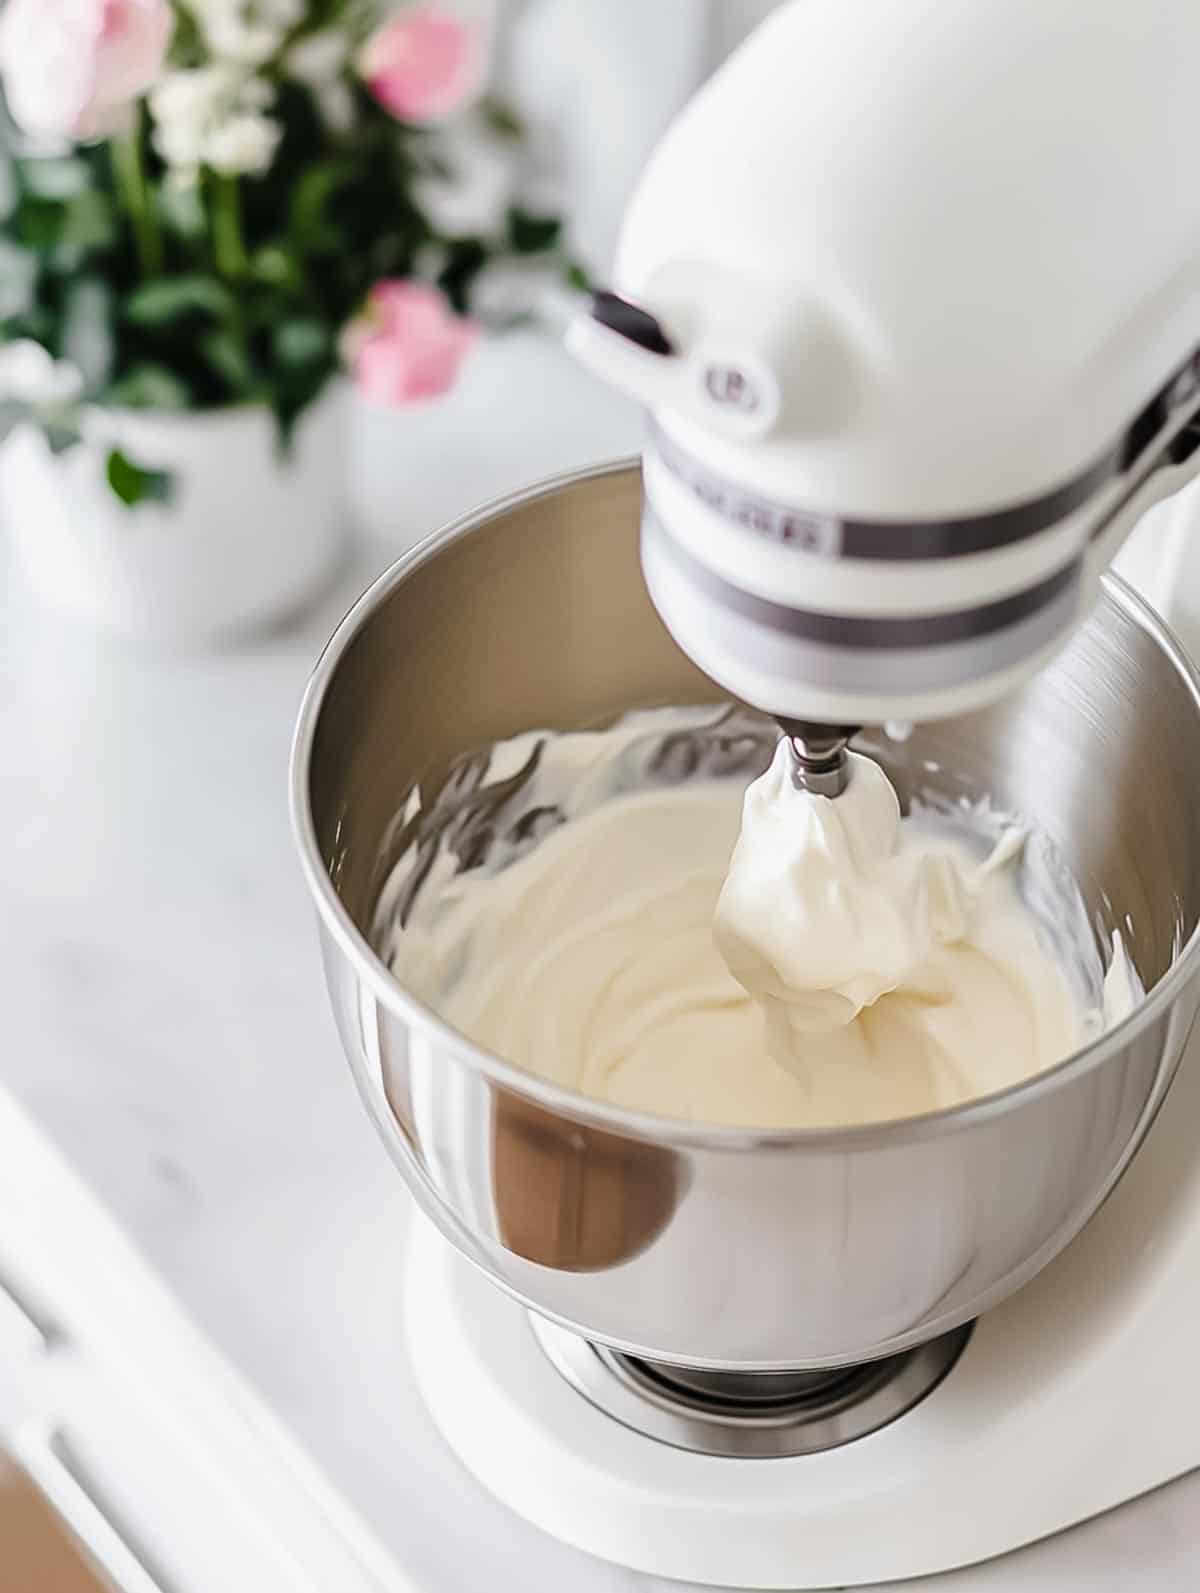
- Begin Whisking: Using a stand mixer with the whisk attachment, start whipping the cream at medium speed. It's important to start slow to prevent splattering and gradually increase the speed as the cream thickens.
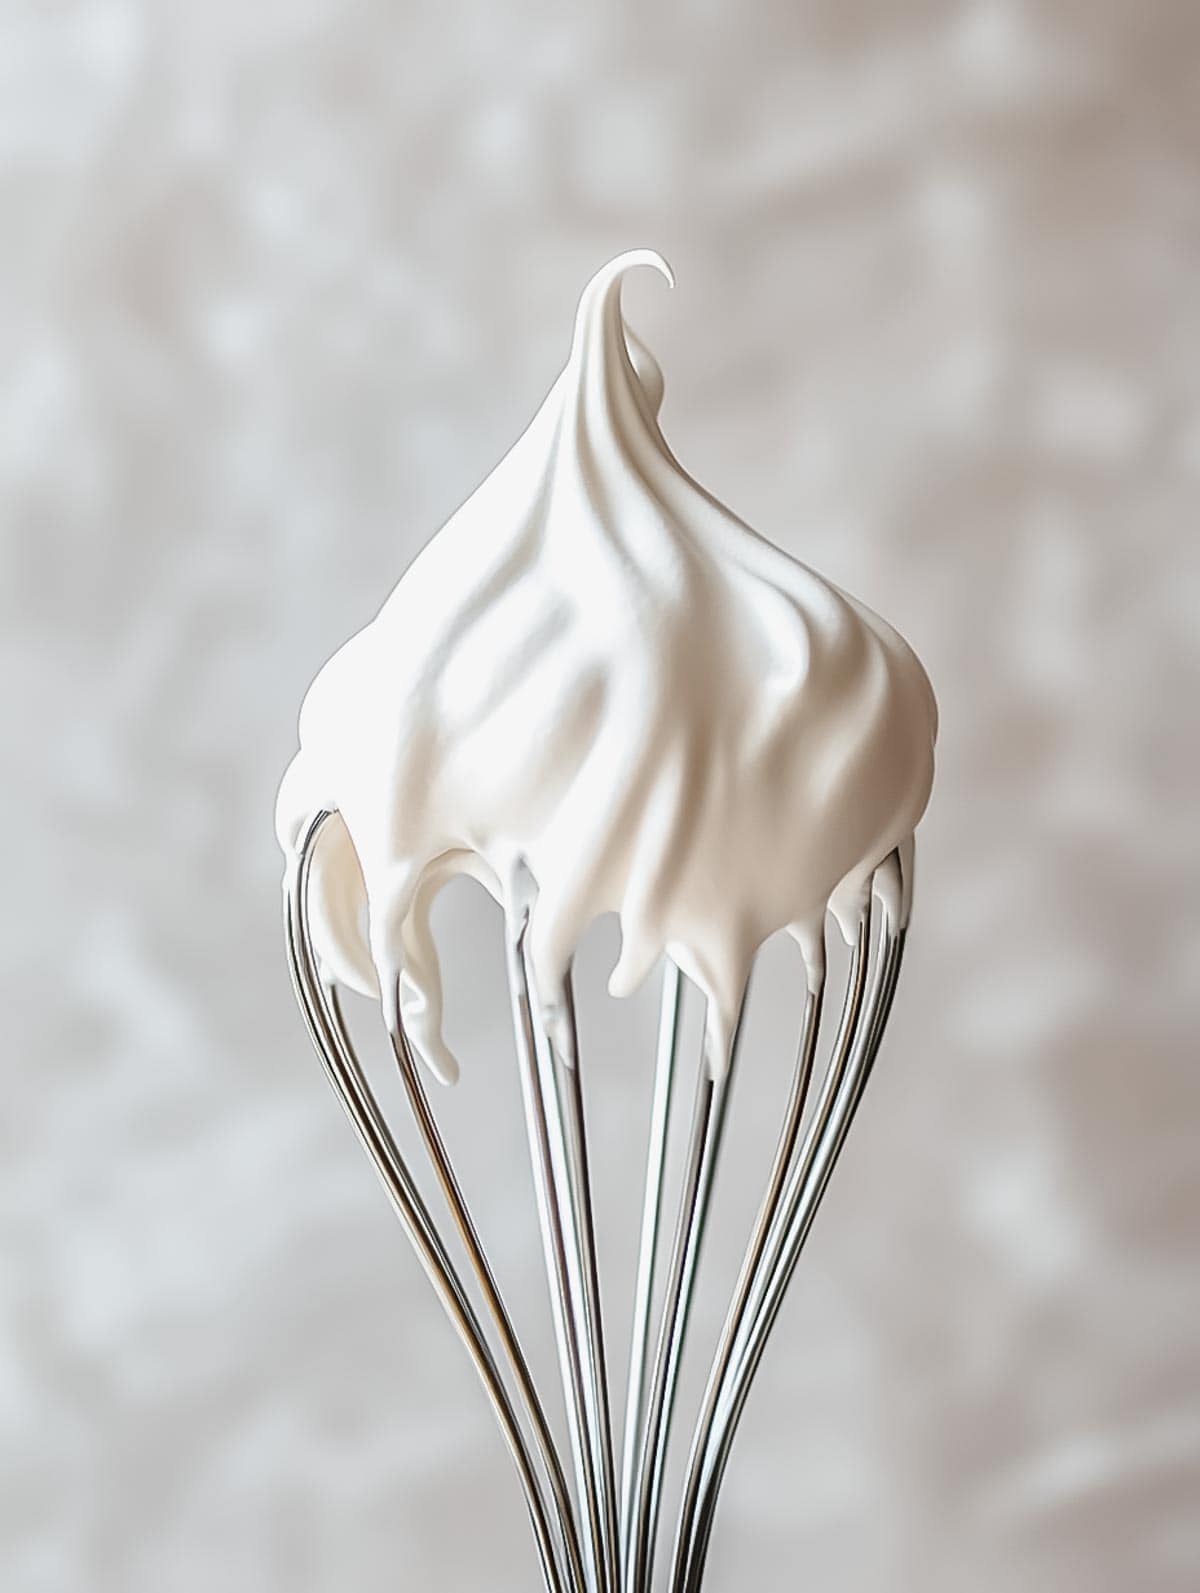
- Whip to Soft Peaks: As you continue whisking, it will begin to thicken in texture. Look for "soft peaks." To check if you've reached this stage, stop the mixer and lift the whisk out of the cream. If soft peaks have formed, they will hold a shape, but the tips will fold over instead of standing straight up. At this stage, taste the whipped cream to see if you're happy with the sweetness. If you want it sweeter, you can add a little more powdered sugar and whisk it in.
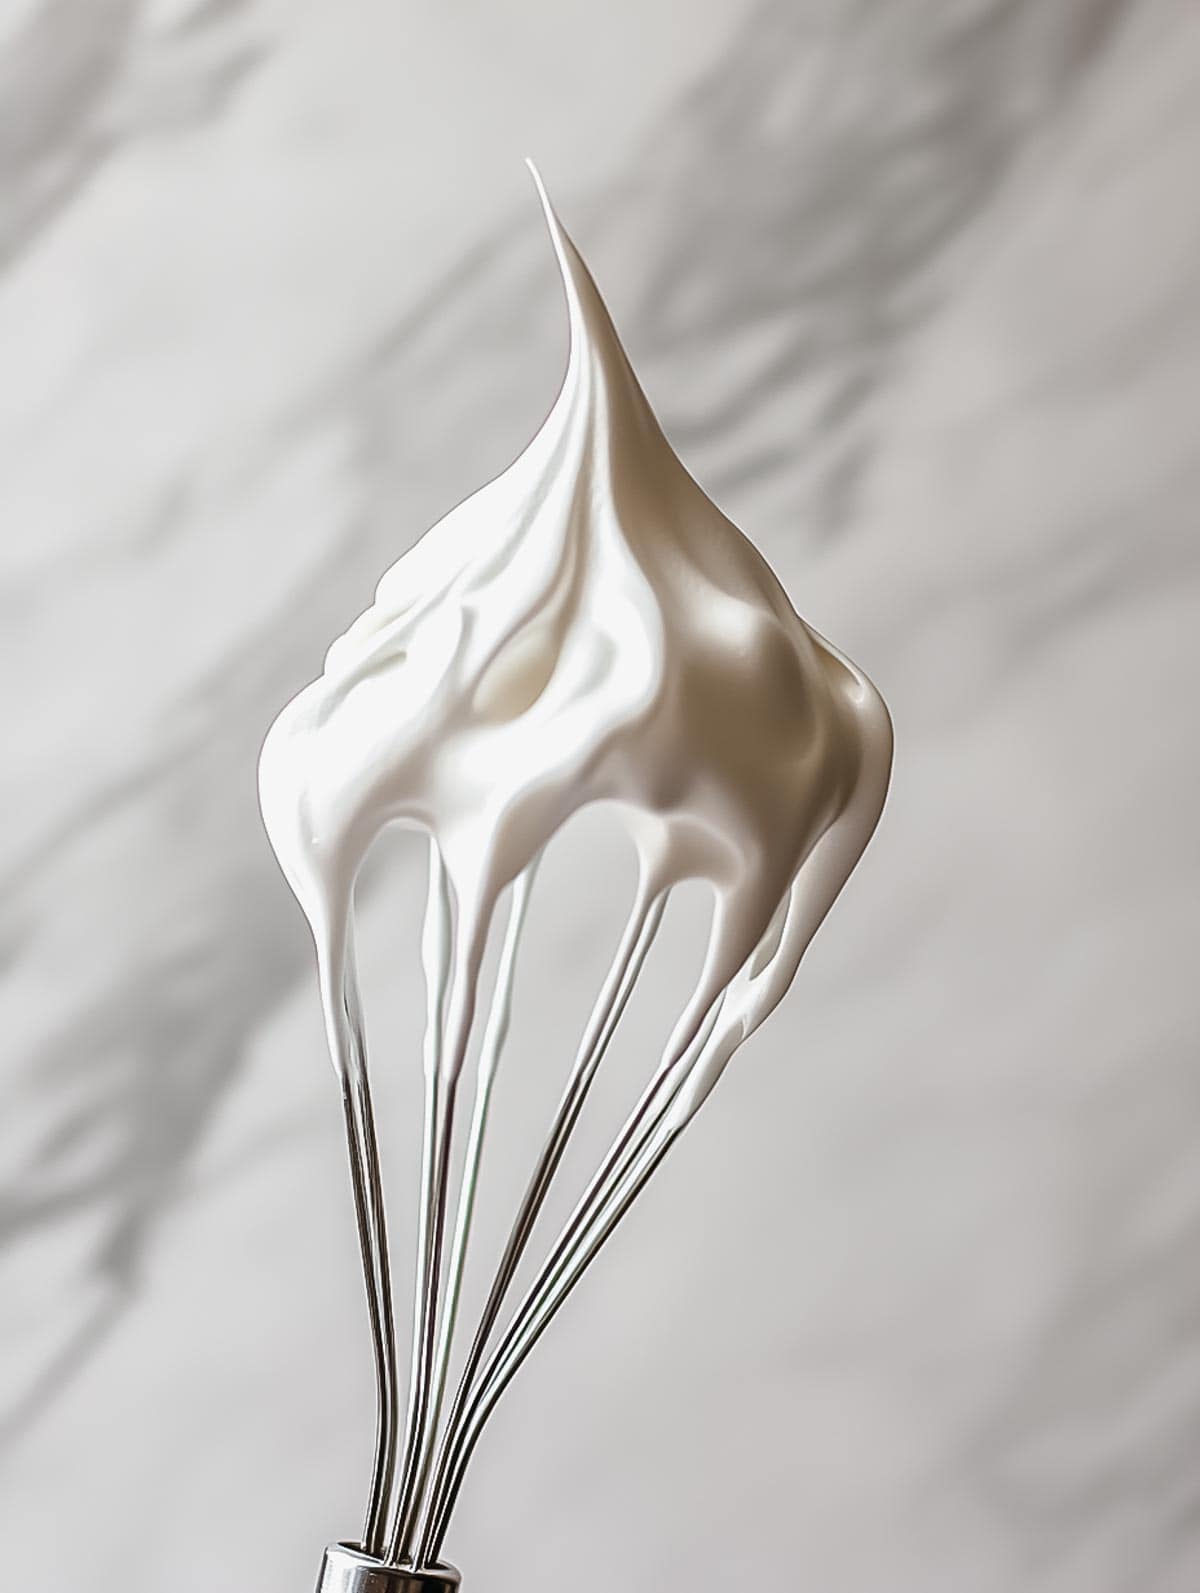
- Whip to Stiff Peaks: Continue whisking the cream until it reaches the stiff peaks stage. Stiff peaks will stand straight up when you lift the whisk out of the cream. Be careful not to over-whip-once you reach stiff peaks, stop whisking immediately to avoid turning the cream into butter.
- Serve or Store: Your fresh whipped cream is now ready! Use it immediately to top your favorite desserts, drinks, or breakfasts like my Chocolate Protein Pancakes. If you don't plan to use it right away, transfer the whipped cream to an airtight container. You can store it in the fridge for up to 24 hours. If needed, you can re-whip it slightly before serving.
Hint: If you're out of powdered sugar, you can use granulated sugar by making a simple syrup. Dissolve ¼ cup granulated sugar in ¼ cup water over low heat in a small saucepan. Let the syrup cool completely before adding it to the cream. This method won't leave any gritty texture, giving you a silky, sweet whipped cream!
Substitutions
This whipped cream recipe is flexible and can be adapted to suit what you have on hand. If you're out of powdered sugar, you can use granulated sugar by making a simple syrup (see the hint above). For a sugar free version, you can use a sugar substitute like stevia or monk fruit, though the texture may be slightly different.
If you prefer a stronger vanilla flavor or want a pure white color, swap out the vanilla bean paste for an equal amount of pure vanilla extract.
For a dairy-free version, you can use coconut cream. Be sure to chill the can of coconut milk overnight and scoop out only the thick, creamy portion for whipping.
Variations
Whipped cream is endlessly customizable, allowing you to create a version that perfectly suits your dish. For a citrusy twist, try adding a teaspoon of lemon zest to your cream-like my Lemon Blueberry Tart with Lemon Whipped Cream. You can also swap out the vanilla bean paste for peppermint extract to create a holiday whipped cream, ideal for Spiced Christmas Hot Chocolate with Peppermint Whipped Cream. If you're looking for a fresh summer flavor, fold in some finely chopped basil and a drizzle of honey instead of sugar to complement Grilled Peaches with Basil Honey Whipped Cream. Feeling adventurous? Mix in a little cinnamon powder for a cinnamon whipped cream-perfect on top of Brown Sugar Protein Pancakes for a decadent breakfast treat.
Equipment
To achieve perfectly whipped cream, you'll need just a few essential tools. A stand mixer is ideal for this recipe, as it makes the process quick and hands-free. I recommend using the KitchenAid Stand Mixer. It is durable enough to last generations and comes in various colors to match your kitchen. If you're looking for a more budget-friendly option, refurbished versions are also available.
If you don't have a stand mixer, a hand mixer or even just a whisk can work. Just keep in mind that it will take a bit longer by hand. Finally, a rubber spatula will come in handy for gently folding or transferring your whipped cream.
Storage
Whipped cream is best fresh, but you can place it in an airtight container in the refrigerator for up to 24 hours. Before serving, you may need to re-whip it briefly to restore its fluffy texture.
Frozen whipped cream lasts up to 2 months. To do this, scoop individual dollops of whipped cream onto a parchment-lined baking sheet and freeze them until solid. Once frozen, transfer the dollops to a freezer-safe bag or container.
These frozen dollops are perfect for single servings. Simply take out one or two as needed and let them thaw for a few minutes at room temperature. You can place them directly on desserts or hot drinks, where they will slowly soften and melt.
Top Tip
For the fluffiest whipped cream, always start with cold ingredients and equipment. Chill your mixing bowl and whisk the attachment in the freezer for 10 minutes. This helps the cream thicken faster and hold its shape longer. This is especially important if you're working in a warm kitchen.
FAQ for Homemade Whipped Cream
Yes, you can make whipped cream without a mixer by using a hand whisk. It will take more effort and time, but it's possible to achieve the same results with patience and vigorous whisking.
Homemade whipped cream lasts up to 24 hours in the refrigerator when stored in an airtight container. You may need to re-whip it slightly before serving to restore its texture.
Yes, you can freeze whipped cream. Place dollops on a parchment-lined baking sheet, freezing them until solid, and then storing them in a freezer-safe container for up to 2 months.
Heavy cream contains 36-40% fat, while whipping cream has 30-36% fat. I prefer heavy cream for whipped cream because it holds its shape better and is more stable.
Related
Looking for other recipes like this? Try these:

Pairing
These are my favorite dishes to serve with Homemade Whipped Cream:


Homemade Whipped Cream: Easy & Customizable
Equipment
- stand mixer I recommend the KitchenAid Stand Mixer
- rubber spatula
- measuring cups and spoons
Materials
- 1 cup heavy cream 40% fat preferred
- 1-3 tablespoons powdered sugar adjust to your desired sweetness
- 1 teaspoon vanilla bean paste
Instructions
Chill the Equipment
- For the best results, place your mixing bowl and whisk attachment in the freezer for about 10 minutes before you begin. Cold equipment helps the cream whip more easily and maintain its structure.
Prepare the Ingredients
- Once your bowl and whisk are chilled, remove them from the freezer. Pour 1 cup of cold heavy cream (preferably 40% fat) into the mixing bowl. Add 1-3 tablespoons of powdered sugar, depending on your sweetness preference. If you'd like a subtle vanilla flavor, add 1 teaspoon of vanilla bean paste (I recommend this one) for a richer taste and those beautiful vanilla flecks.
Begin Whisking
- Using a stand mixer with the whisk attachment (or a hand mixer), start whipping the cream on medium speed. It's important to start slow to prevent splattering, and gradually increase the speed as the cream thickens.
Whip to Soft Peaks
- As you continue whisking, the cream will begin to thicken and take on a lighter, fluffier texture. You'll want to look for what's called "soft peaks." To check if you've reached this stage, stop the mixer and lift the whisk out of the cream. If soft peaks have formed, the cream will hold a soft shape but the tips of the peaks will gently fold over, instead of standing straight up. If the cream still looks too liquidy, keep whisking for another 30 seconds and check again. At this stage, taste the whipped cream to see if you're happy with the sweetness. If you want it sweeter, you can add a little more powdered sugar and whisk it in.
Whip to Stiff Peaks
- Continue whisking the cream until it reaches the stiff peaks stage. Stiff peaks will stand straight up when you lift the whisk out of the cream. Be careful not to over-whip-once you reach stiff peaks, stop whisking immediately to avoid turning the cream into butter.
Serve or Store
- Your fresh whipped cream is now ready! Use it immediately to top your favorite desserts, drinks, or breakfasts like my Chocolate Protein Pancakes. If you don't plan to use it right away, transfer the whipped cream to an airtight container and store it in the fridge for up to 24 hours. If needed, you can re-whip it slightly before serving.
Leave a Reply